
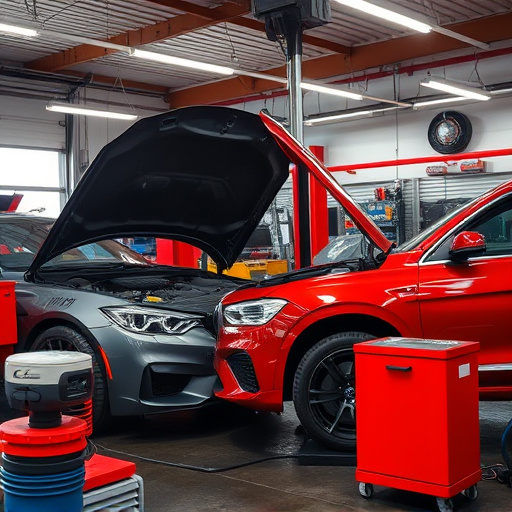
Composite material repair for modern luxury vehicles demands a deep understanding of damage types and accurate assessment using digital imaging and non-destructive testing. Essential tools include specialized equipment, safety gear, resin kits, and various grits of sandpaper. The meticulous repair process begins with damage evaluation, preparation, and selection of repair methods like resin patching or fiber reinforcement. Precise application and curing times are crucial, followed by meticulous polishing for a seamless blend, ensuring both aesthetics and structural integrity.
Discover the art of expertly repairing composite materials with this comprehensive guide. Learn how to identify and understand various types of composite damage, from cracks and chips to delaminations. Arm yourself with the right tools and supplies for a successful repair process. This step-by-step manual covers everything from surface preparation to final finishing, ensuring your composite material repairs are both strong and invisible. Master these techniques and become a composite material repair expert.
- Understanding Composite Material Damage
- Gathering Essential Tools and Supplies
- Step-by-Step Repair Process for Composites
Understanding Composite Material Damage
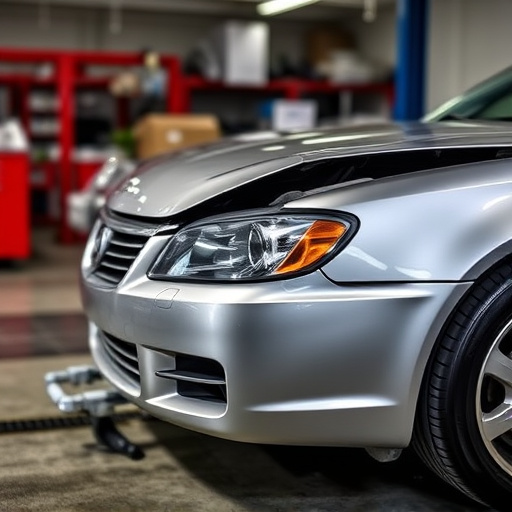
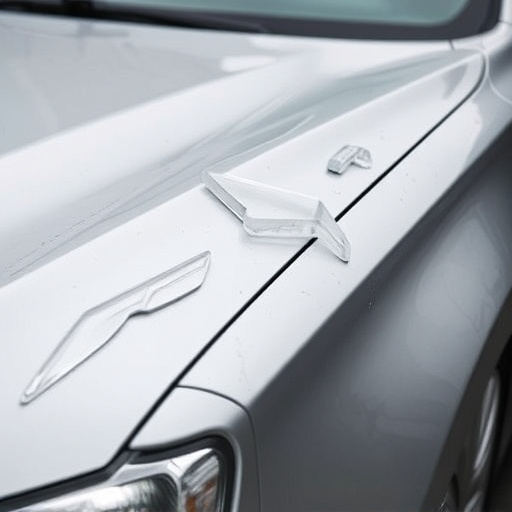
Composite materials, commonly used in modern automotive construction, particularly in luxury vehicles, present unique challenges when it comes to repairs. Understanding damage to these advanced materials is paramount for successful composite material repair. Cracks, delaminations, and fiber separations are typical issues that can arise due to various factors like impact, fatigue, or exposure to extreme temperatures. These defects may go beyond the visible surface, affecting the structural integrity of the component.
Identifying the type and extent of damage is crucial for effective repair strategies. Delve into visual inspection methods, including digital imaging and non-destructive testing techniques, to assess the composite’s condition accurately. In fleet repair services or auto painting scenarios, where time and cost are significant considerations, proper damage assessment can prevent unnecessary replacement and guide tailored repair processes, ensuring the longevity and aesthetics of luxury vehicle repairs.
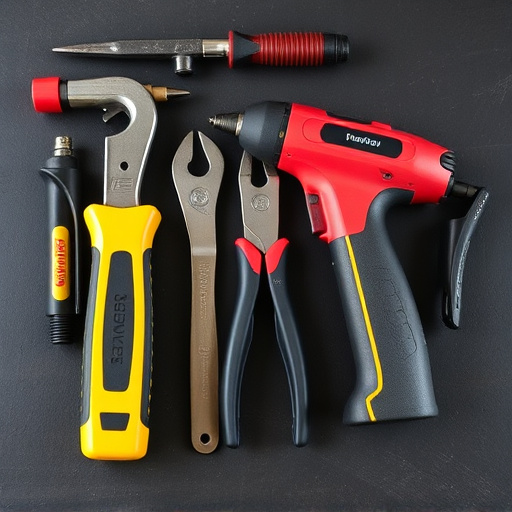
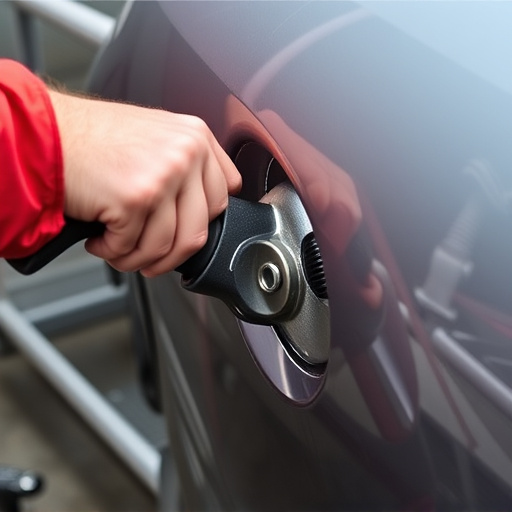
Gathering Essential Tools and Supplies
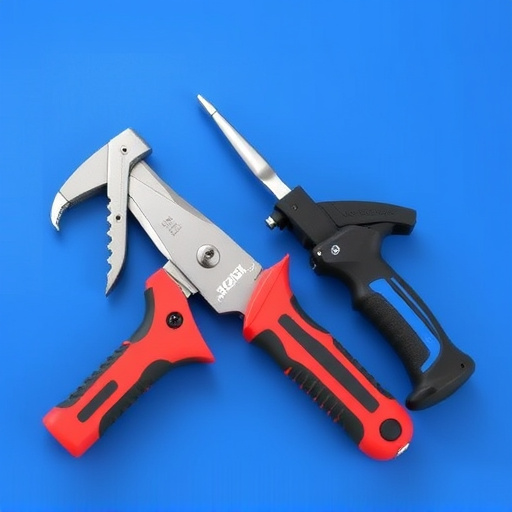
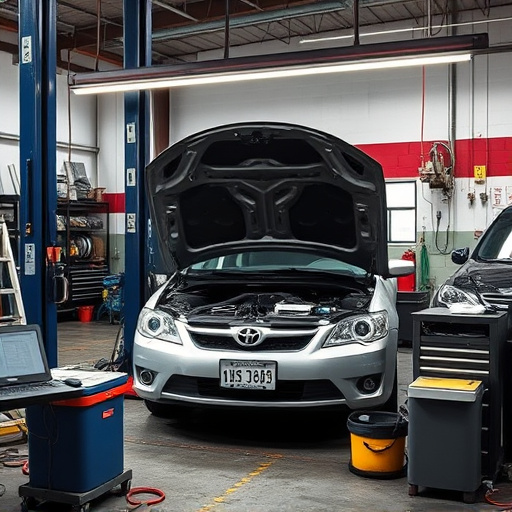
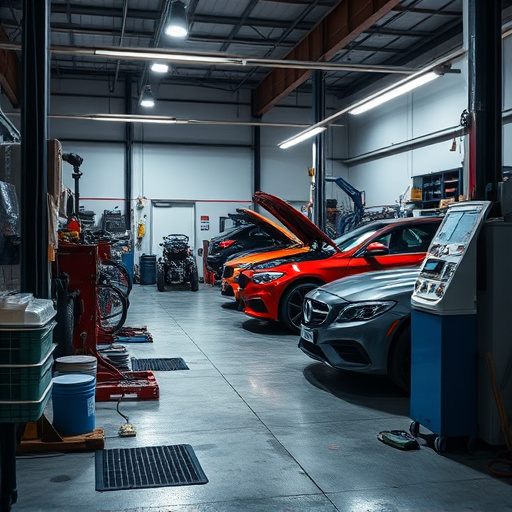
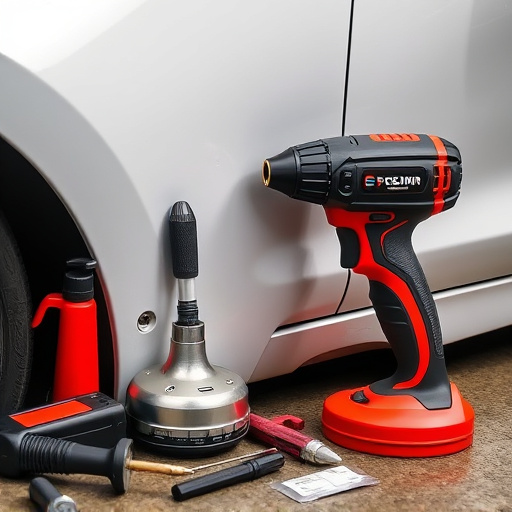
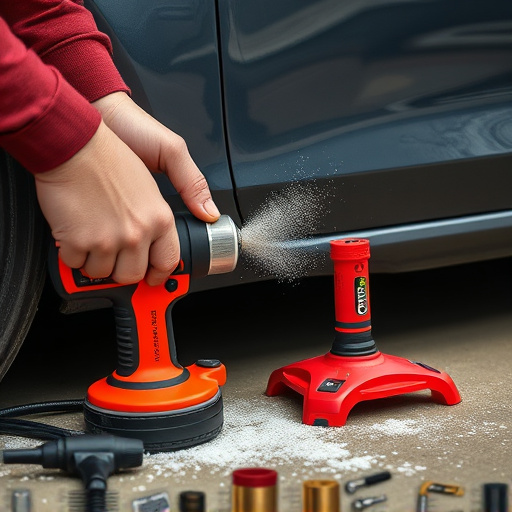
Before diving into the composite material repair process, ensuring you have the right tools and supplies is paramount. This includes a variety of specialized equipment designed to handle the unique properties of composite materials. For instance, high-quality sandpaper with varying grit sizes, ranging from coarse to fine, is essential for shaping and smoothing the surface. Additionally, a reliable air compressor becomes invaluable for powering tools like sanders and aerosol cans of appropriate composites or adhesives.
Another crucial element is access to various types of composite repair kits, which often include resin, hardener, and color matching pigments tailored for specific vehicle parts, such as fenders, bumpers, or even frame structures. These kits are designed to mimic the original material’s properties, ensuring a seamless finish upon completion of repairs. Proper protective gear, including safety goggles and gloves, is also mandatory to safeguard against potential hazards during the repair process, especially when working with chemical compounds.
Step-by-Step Repair Process for Composites
The process of composite material repair is a meticulous art that requires precision and expertise, especially when it comes to vehicle bodywork. Here’s a breakdown of the steps for achieving a successful repair:
1. Assessment: Begin by thoroughly inspecting the damaged area. Identify the extent of the damage, which could range from small cracks or chips to more extensive composite panel deformation. This step is crucial as it dictates the repair techniques and materials required. For instance, a simple chip might be fixed with a specialized resin, while deeper dents may necessitate advanced restoration methods.
2. Preparation: Before repairing, ensure the surface is clean and free from debris. Remove any loose composite fragments and apply appropriate primers or undercoatings to prepare the base. In a collision center handling luxury vehicle repair, precision is paramount. Any imperfections in preparation can affect the final finish.
3. Repair Methods: Depending on the damage, several techniques are employed. For minor repairs, a composite patch or fill may be used to match the existing material. More complex damages might require shaping and reshaping the composite panel until it regains its original form. Advanced repair methods include fiber reinforcement, where new fibers are woven into the damaged area for structural integrity.
4. Application of Resin: Choose the right resin compatible with the composite material. Apply the resin to the repaired area, ensuring complete coverage. This step fills gaps and bonds new materials to the existing structure. Curing time varies based on product specifications, so adhere to manufacturer guidelines.
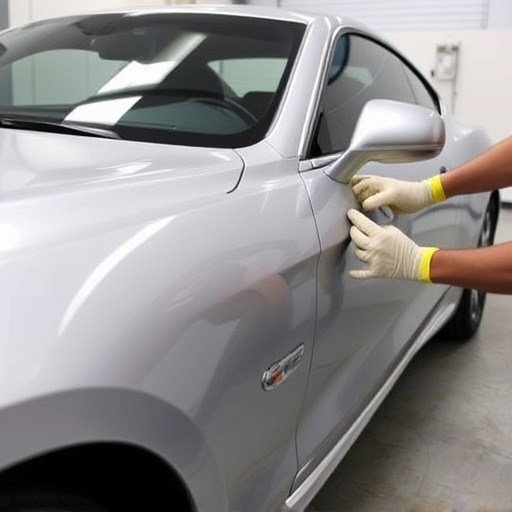
5. Polishing and Finishes: Once cured, meticulously polish the repair area to achieve a seamless blend with the surrounding composite surface. The final finish should be flawless, ensuring the vehicle bodywork retains its aesthetic appeal and structural integrity.
Performing composite material repair requires a thorough understanding of damage types, the right tools, and a systematic approach. By first identifying and preparing the damaged area, then using suitable composites and adhesives for the repair, you can restore the structural integrity and aesthetic appeal of composite components. Regular maintenance and early detection of damage are key to minimizing repair needs in the long term, ensuring the longevity and performance of composite materials across various applications.