


Vacuum bagging, a prominent composite material repair technique, offers precise control over pressure and moisture for effective repairs on complex geometries. Ideal for auto body repairs and classic car restoration, this method creates airtight seals for tight fitting and strong bonding. A step-by-step guide emphasizes meticulous preparation, proper material selection, and careful application for achieving superior structural soundness and aesthetic appeal in composite material repairs.
In the realm of advanced manufacturing, composite material repair techniques are essential for maintaining structural integrity and extending component lifespans. This article delves into the world of composite material repair, focusing on the powerful method of vacuum bagging. We’ll explore the understanding behind these repairs, uncover the benefits of vacuum bagging, and provide a step-by-step guide to ensure effective composite material repair, catering to both professionals and enthusiasts.
- Understanding Composite Material Repair Techniques
- Vacuum Bagging: A Powerful Method for Repairs
- Step-by-Step Guide to Effective Composite Repair
Understanding Composite Material Repair Techniques

Composite material repair techniques have become increasingly important as composite materials gain popularity in various industries, including automotive and aerospace. Understanding the intricacies of these repair methods is crucial for ensuring structural integrity and performance. Composite repairs often involve specialized equipment and processes tailored to mimic the original manufacturing methods, aiming to match the strength and properties of the composite material.
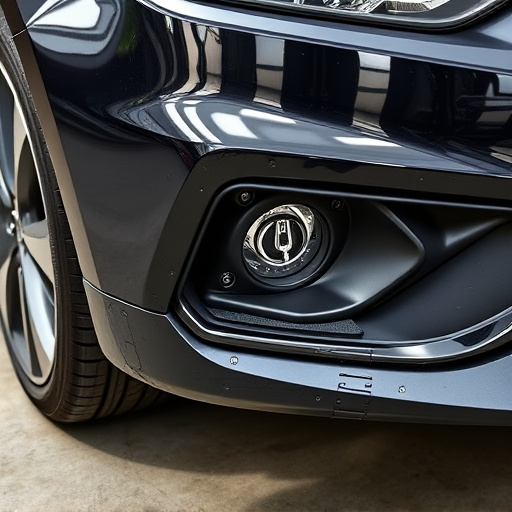
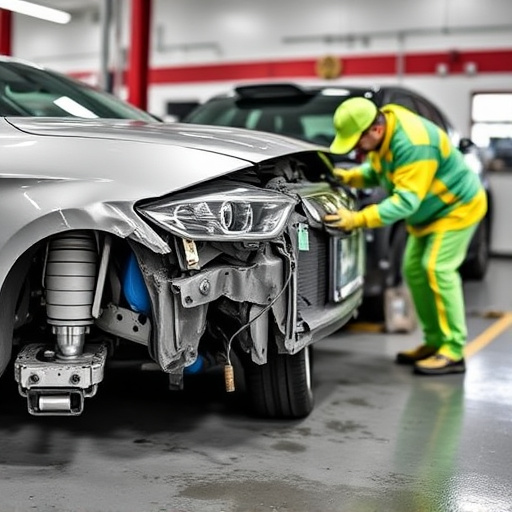
One common approach, vacuum bagging, is a game-changer in composite material repair, especially for complex geometries like car bodywork or frame straightening after a fender bender. This technique creates an airtight seal around the repair area, enabling precise control over pressure and moisture levels. By applying vacuum force, the bag helps to deform and conform the composite layup, ensuring tight fitting and strong bonding. Vacuum bagging is versatile and can be used for both structural repairs and cosmetic enhancements, making it a go-to method for professionals in the field of composite material repair.
Vacuum Bagging: A Powerful Method for Repairs

Vacuum bagging is a cutting-edge technique revolutionizing composite material repair, particularly in the realms of autobody repairs and classic car restoration. This method involves creating a vacuum between a mold and a fabric bag, drawing out air to create a precise, tight fit around the damaged area. By ensuring complete contact between the mold and the composite surface, vacuum bagging facilitates seamless bonding and long-lasting repairs.
This approach is especially beneficial for intricate shapes and complex geometries often found in modern vehicles, offering a superior alternative to traditional methods like frame straightening. The process not only enhances structural integrity but also preserves the original aesthetics of the vehicle, making it ideal for those seeking meticulous autobody repairs without compromising on beauty or performance.
Step-by-Step Guide to Effective Composite Repair

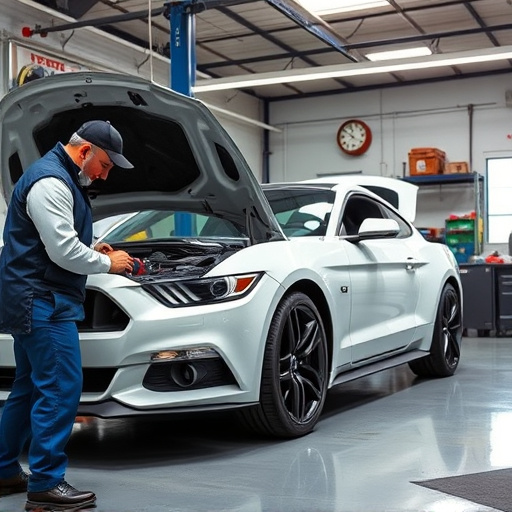
Repairing composite materials requires a methodical approach to ensure structural integrity and aesthetic quality. Here’s a step-by-step guide for effective composite material repair, focusing on techniques using vacuum bagging for optimal results.
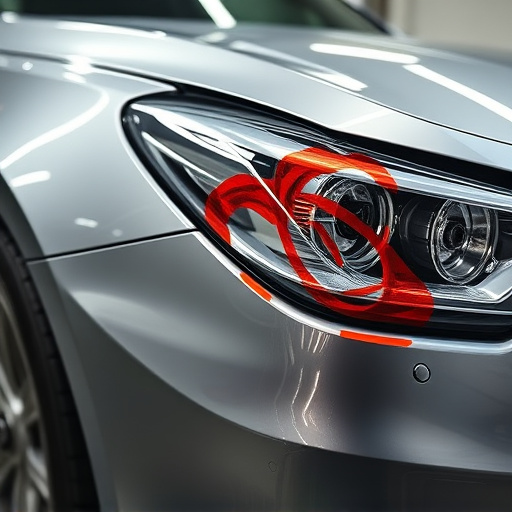
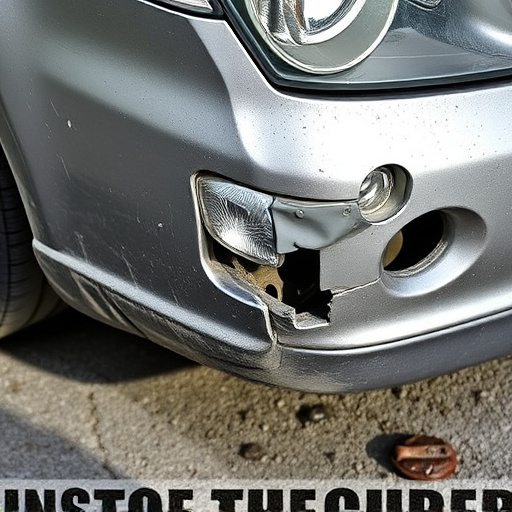
1. Preparation: Begin by thoroughly cleaning the damaged area of the car bodywork or vehicle body repair. Remove any loose debris or contaminants with specialized solvents and brushes. Ensure the surface is dry before proceeding to the next step. Inspect the damage, taking note of the extent and shape of the repair needed for accurate material estimation.
2. Material Selection: Choose a composite patch kit suitable for the specific type of damage in your car body repair. These kits often include fiberglass mats, resin, and hardening agents. Select a patch size that adequately covers the damaged area. Prepare the composite materials by cutting them to fit precisely over the repair zone.
3. Application and Vacuum Bagging: Apply a thin layer of resin to the clean surface and the back of the composite patch. Press the patch firmly onto the car bodywork, ensuring complete coverage. Use a vacuum bag to create a sealed environment around the repair area. This step helps remove air bubbles and ensures proper curing of the resin, resulting in a strong bond.
4. Curing: Allow the resin to cure according to the manufacturer’s instructions. This process may take several hours or even days, depending on the product used. Maintain the vacuum during the initial stages to optimize curing conditions. Once cured, carefully remove the vacuum bag and inspect the repair for any imperfections.
5. Finishing: Sand the repaired area gently using fine-grit sandpaper to blend it seamlessly with the surrounding car body panels. Apply a suitable primer and paint job to match the original finish, ensuring a flawless look in your vehicle body repair.
Composite material repair techniques, especially vacuum bagging, offer a powerful and effective solution for restoring composite structures. By leveraging this method, professionals can achieve precise results while ensuring structural integrity. Following the step-by-step guide provided, you’ll be well-equipped to handle composite material repairs efficiently, making it an invaluable skill for any industry reliant on these advanced materials.