

Composite material repair addresses cracks, delaminations, and fiber disruption caused by impact, fatigue, or extreme temperatures using tailored techniques. Vacuum bagging, a versatile method, has gained prominence for its controlled environment capabilities. This process involves sealing the damaged area with a vacuum bag, evacuating air, introducing curable resin, ensuring even distribution, elimination of bubbles, and good adhesion. Proper preparation includes meticulous cleaning, inspection, surface treatment with sanding and composite primers. Successful repairs require systematic steps: thorough cleaning, inspection, suitable epoxy/resin application, strategic vacuum bag placement, maintaining recommended vacuum time, and complete curing according to manufacturer guidelines.
Composite materials, known for their strength and lightweight properties, are widely used in various industries. However, damage can occur due to impact, fatigue, or environmental factors. This article explores effective composite material repair techniques using vacuum bagging—a proven method for restoring structural integrity. We’ll guide you through understanding damage, surface preparation, and a step-by-step process, ensuring successful repairs with this advanced technique, tailored for composite material restoration.
- Understanding Composite Material Damage and Vacuum Bagging Basics
- Preparation and Surface Treatment for Effective Repair
- Step-by-Step Guide to Achieving Successful Composite Repairs Using Vacuum Bagging
Understanding Composite Material Damage and Vacuum Bagging Basics

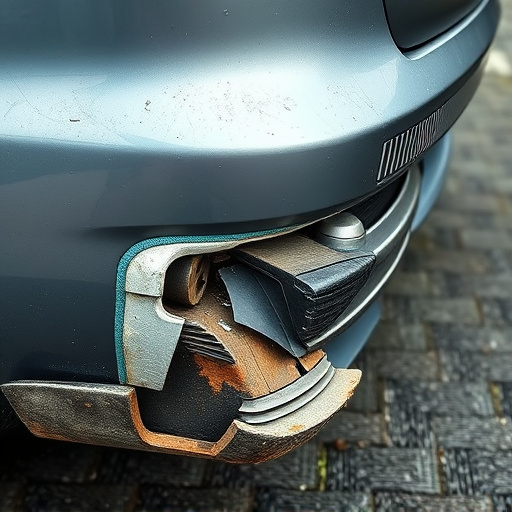
Composite material damage can manifest in various forms, from small cracks and delaminations to significant fiber disruption. These defects often occur due to impact, fatigue, or exposure to extreme temperatures during manufacturing or use. Understanding the specific type of damage is crucial for effective repair, as each requires tailored techniques. Vacuum bagging, a versatile method, has gained prominence in composite material repair due to its ability to create controlled environments and precise pressure application.
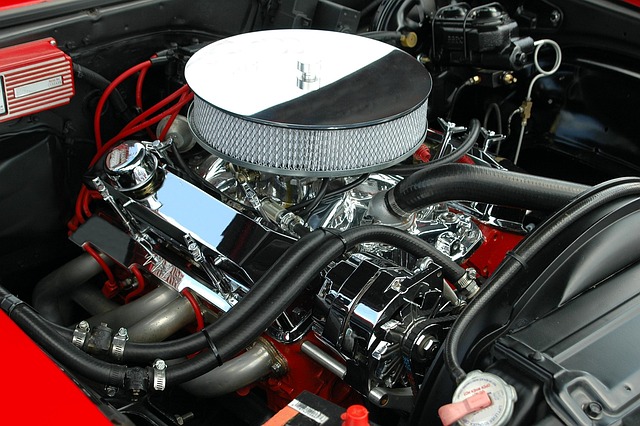
This process involves sealing the damaged area with a vacuum bag, evacuating air to create negative pressure, and then introducing a curable resin or filling material. The vacuum ensures even distribution of the material, eliminating bubbles and promoting good adhesion. For instance, in Mercedes Benz collision repair or any auto body services, where composite materials are increasingly used for their lightweight strength, vacuum bagging offers an efficient solution for repairs, ensuring structural integrity and aesthetic restoration without compromising on performance.
Preparation and Surface Treatment for Effective Repair

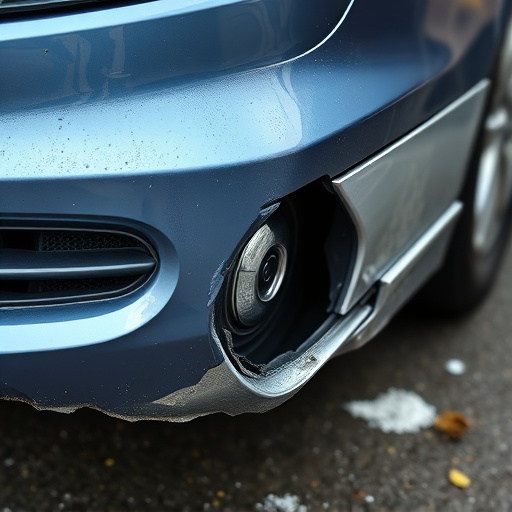
Before initiating any composite material repair using vacuum bagging, proper preparation and surface treatment are paramount to ensure optimal results. This involves meticulous cleaning of the damaged area to remove debris, dust, and contaminants that could hinder adhesion. A thorough inspection is conducted to assess the extent of the collision damage or auto body repairs needed, identifying any cracks, delaminations, or fiber discontinuities.
Surface treatment plays a crucial role in enhancing adhesion between the repair compound and the composite material. This includes sanding the affected surface to create a rough texture that mechanically locks the repair in place. Priming the area with an appropriate primer designed for composite materials further ensures seamless integration during the vacuum bagging process, facilitating effective frame straightening and composite material repair.
Step-by-Step Guide to Achieving Successful Composite Repairs Using Vacuum Bagging

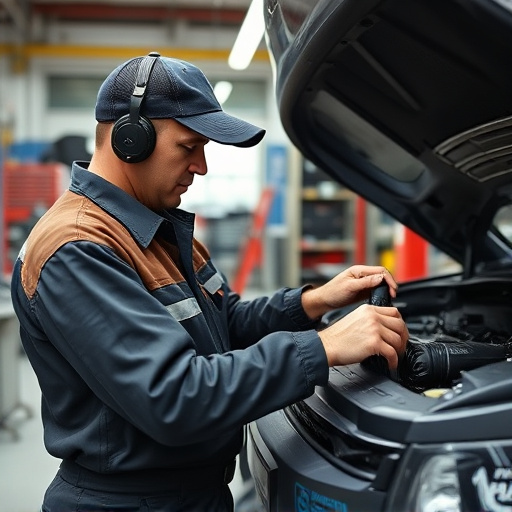
Achieving successful composite material repairs using vacuum bagging involves a systematic approach that ensures precise results. Begin by thoroughly cleaning and inspecting the damaged area to remove any debris or contaminants. Next, apply a suitable epoxy or resin system designed for composite materials, following the manufacturer’s instructions for mixing ratios and application techniques. Once the adhesive is prepared, strategically place a vacuum bag over the repair area, ensuring a tight seal around the perimeter to create a vacuum. This process helps to drive out air bubbles and promote even distribution of the adhesive, resulting in a stronger bond.
For optimal adhesion, maintain the vacuum for the recommended time as per your chosen repair method. Monitor the repair closely during this phase to prevent any issues or cracks that may form due to uneven pressure. After the specified time has elapsed, carefully remove the vacuum bag and allow the composite material to cure completely according to the manufacturer’s guidelines. This meticulous process ensures that collision damage repairs on cars or vehicles are executed efficiently, offering durable solutions for vehicle repair services while maintaining the integrity of composite structures.
Composite material repair techniques, particularly using vacuum bagging, offer a powerful solution for restoring damaged components. By understanding the damage and utilizing proper surface treatment, professionals can effectively achieve successful repairs. This step-by-step process ensures composite material repairs are not just structural but also aesthetic, maintaining the integrity and performance of the original component. Vacuum bagging provides an efficient, controlled environment, making it a go-to method for ensuring high-quality composite material repair outcomes.